DIY|Wrap Leather Bracelet

DIY|Leather Warp Bracelet

The past few weeks have been full of life changes and realizations. I was accepted to graduate school. YAY!! I also started to book all of my summer adventures in Southeast Asia.  Then I realize I only had 6 weeks left in South Korea teaching all the little crazy monsters <3. The next 6 months are going to be insanely exciting. I’ll finish my year and a half teaching in South Korea. I’ll spend a month and a half traveling in Southeast Asia. I’ll return home to the States. I’ll move to New York City. And I’ll start graduate school. To be honest, I’m a little scared, but mostly excited!!

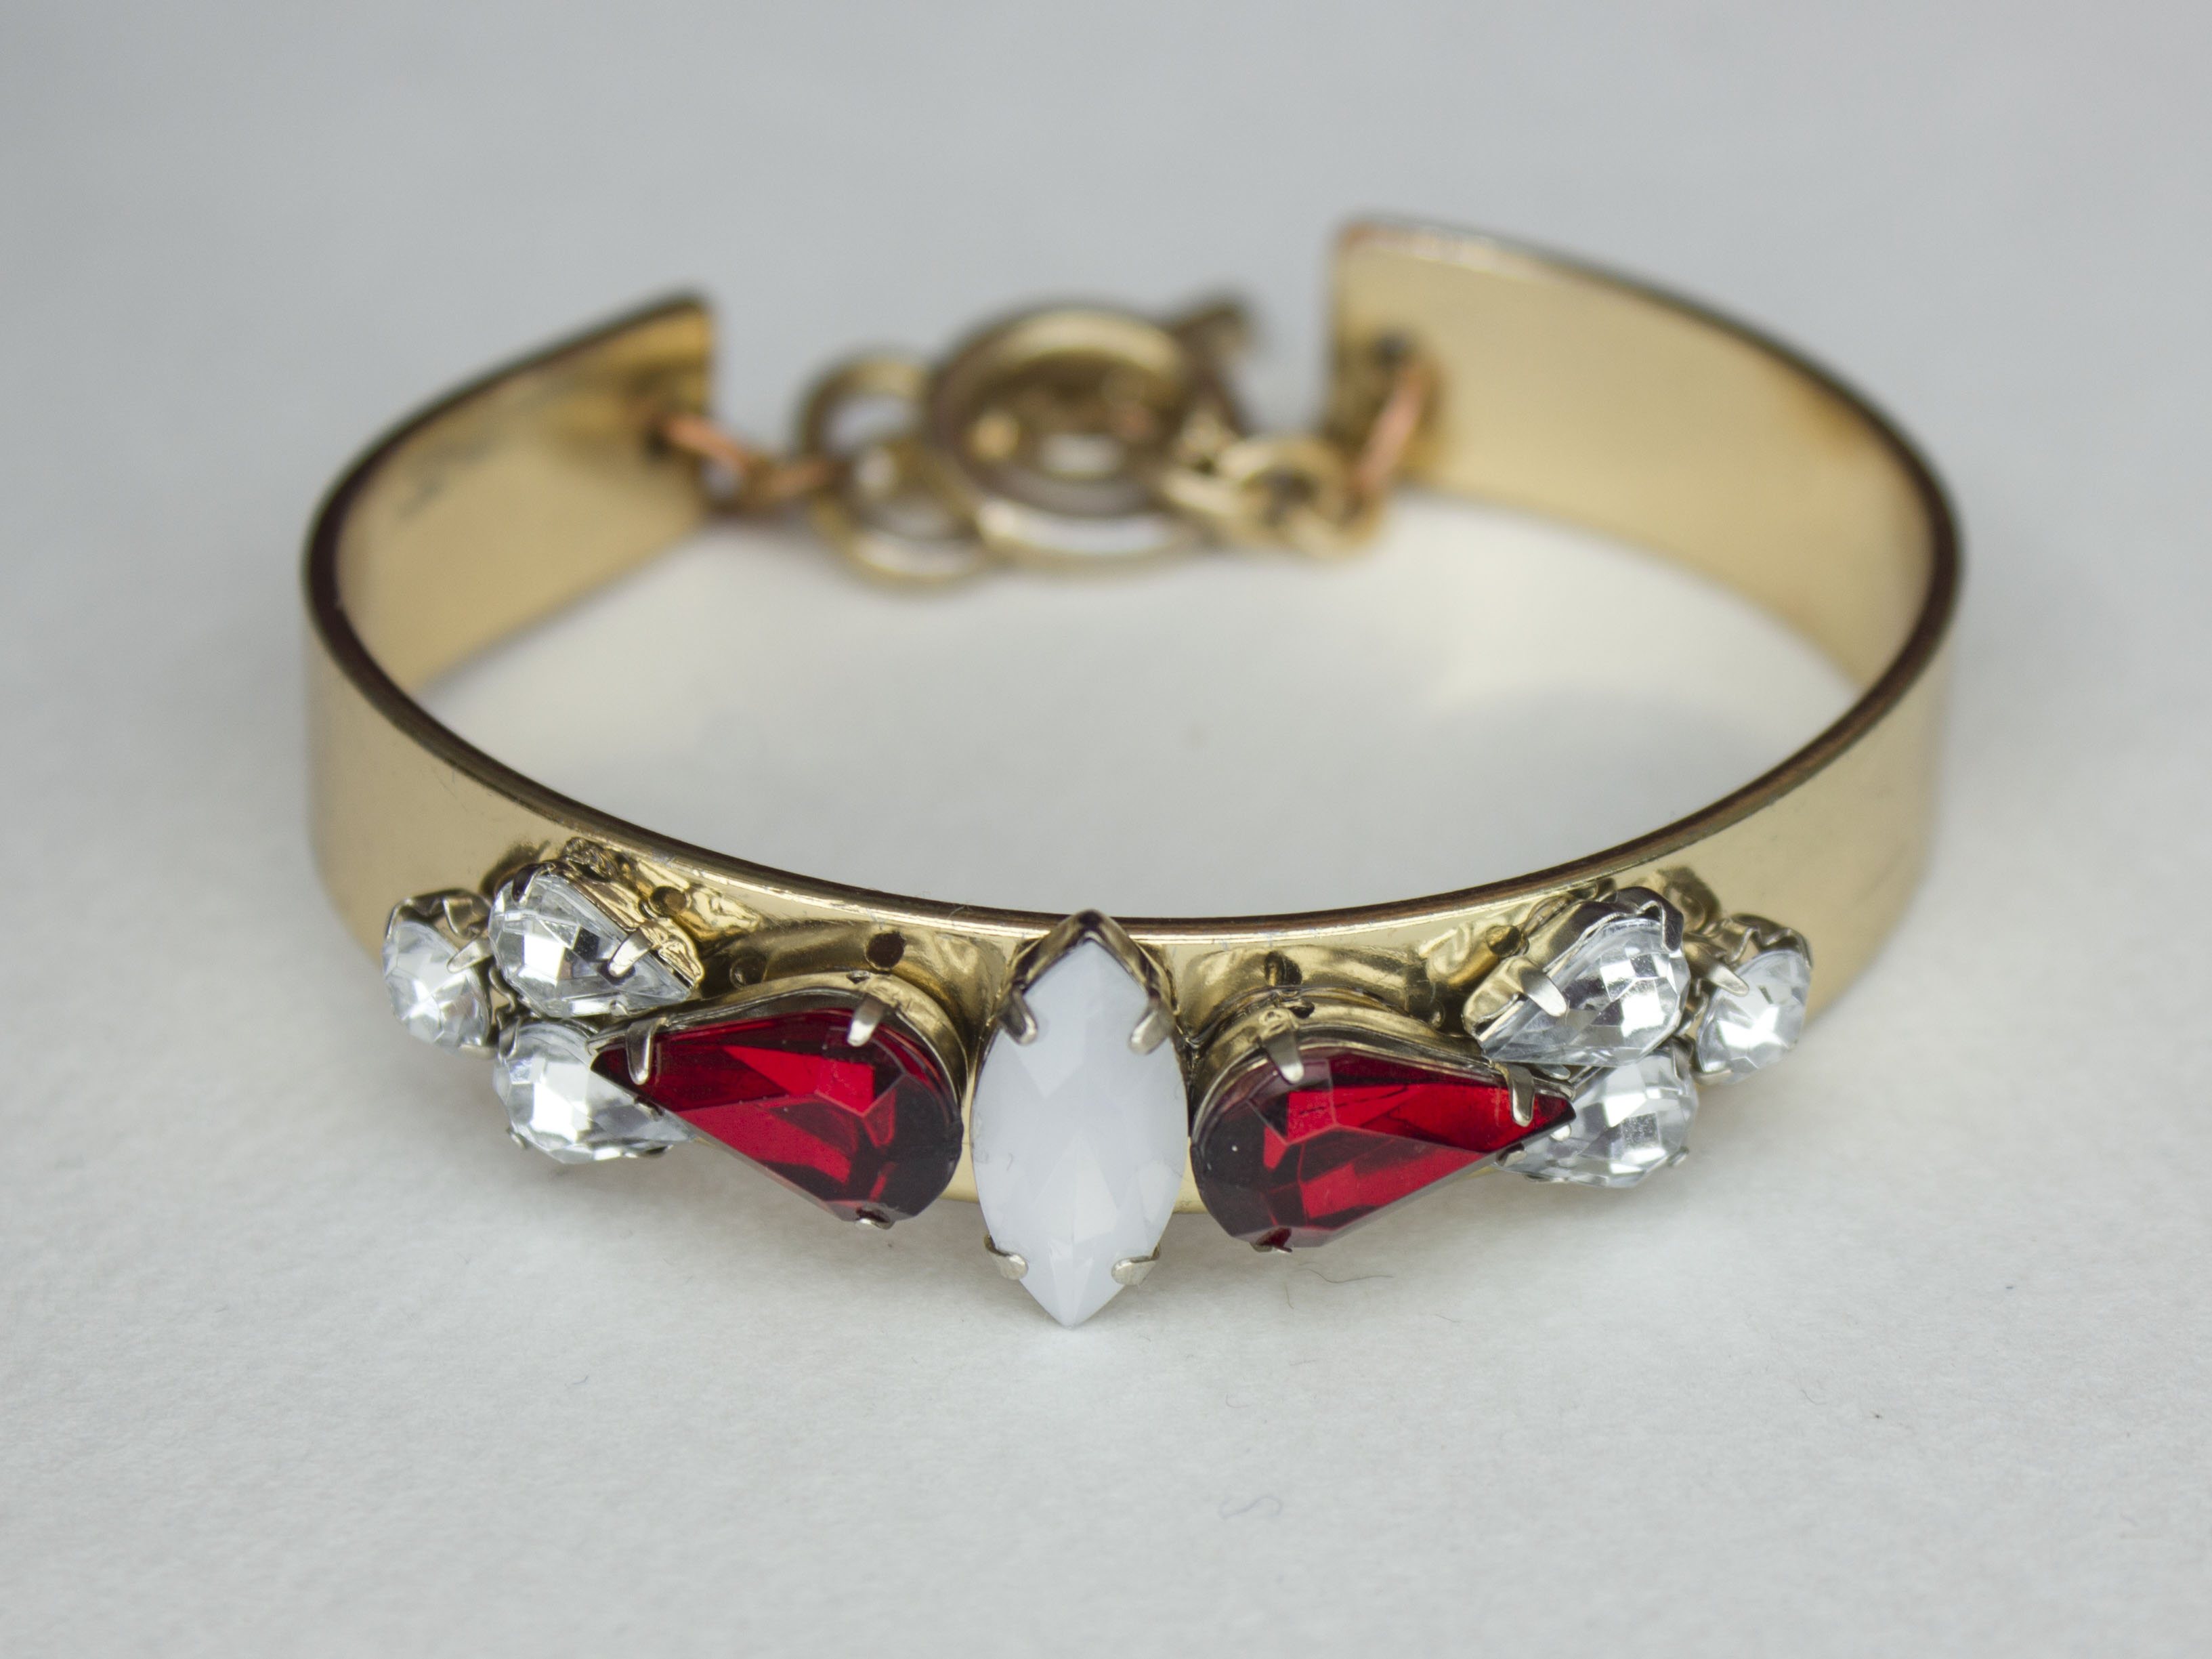
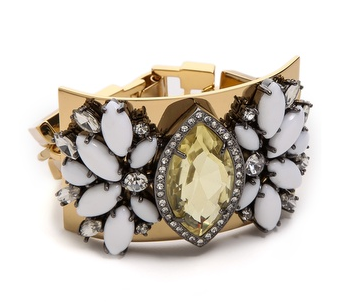
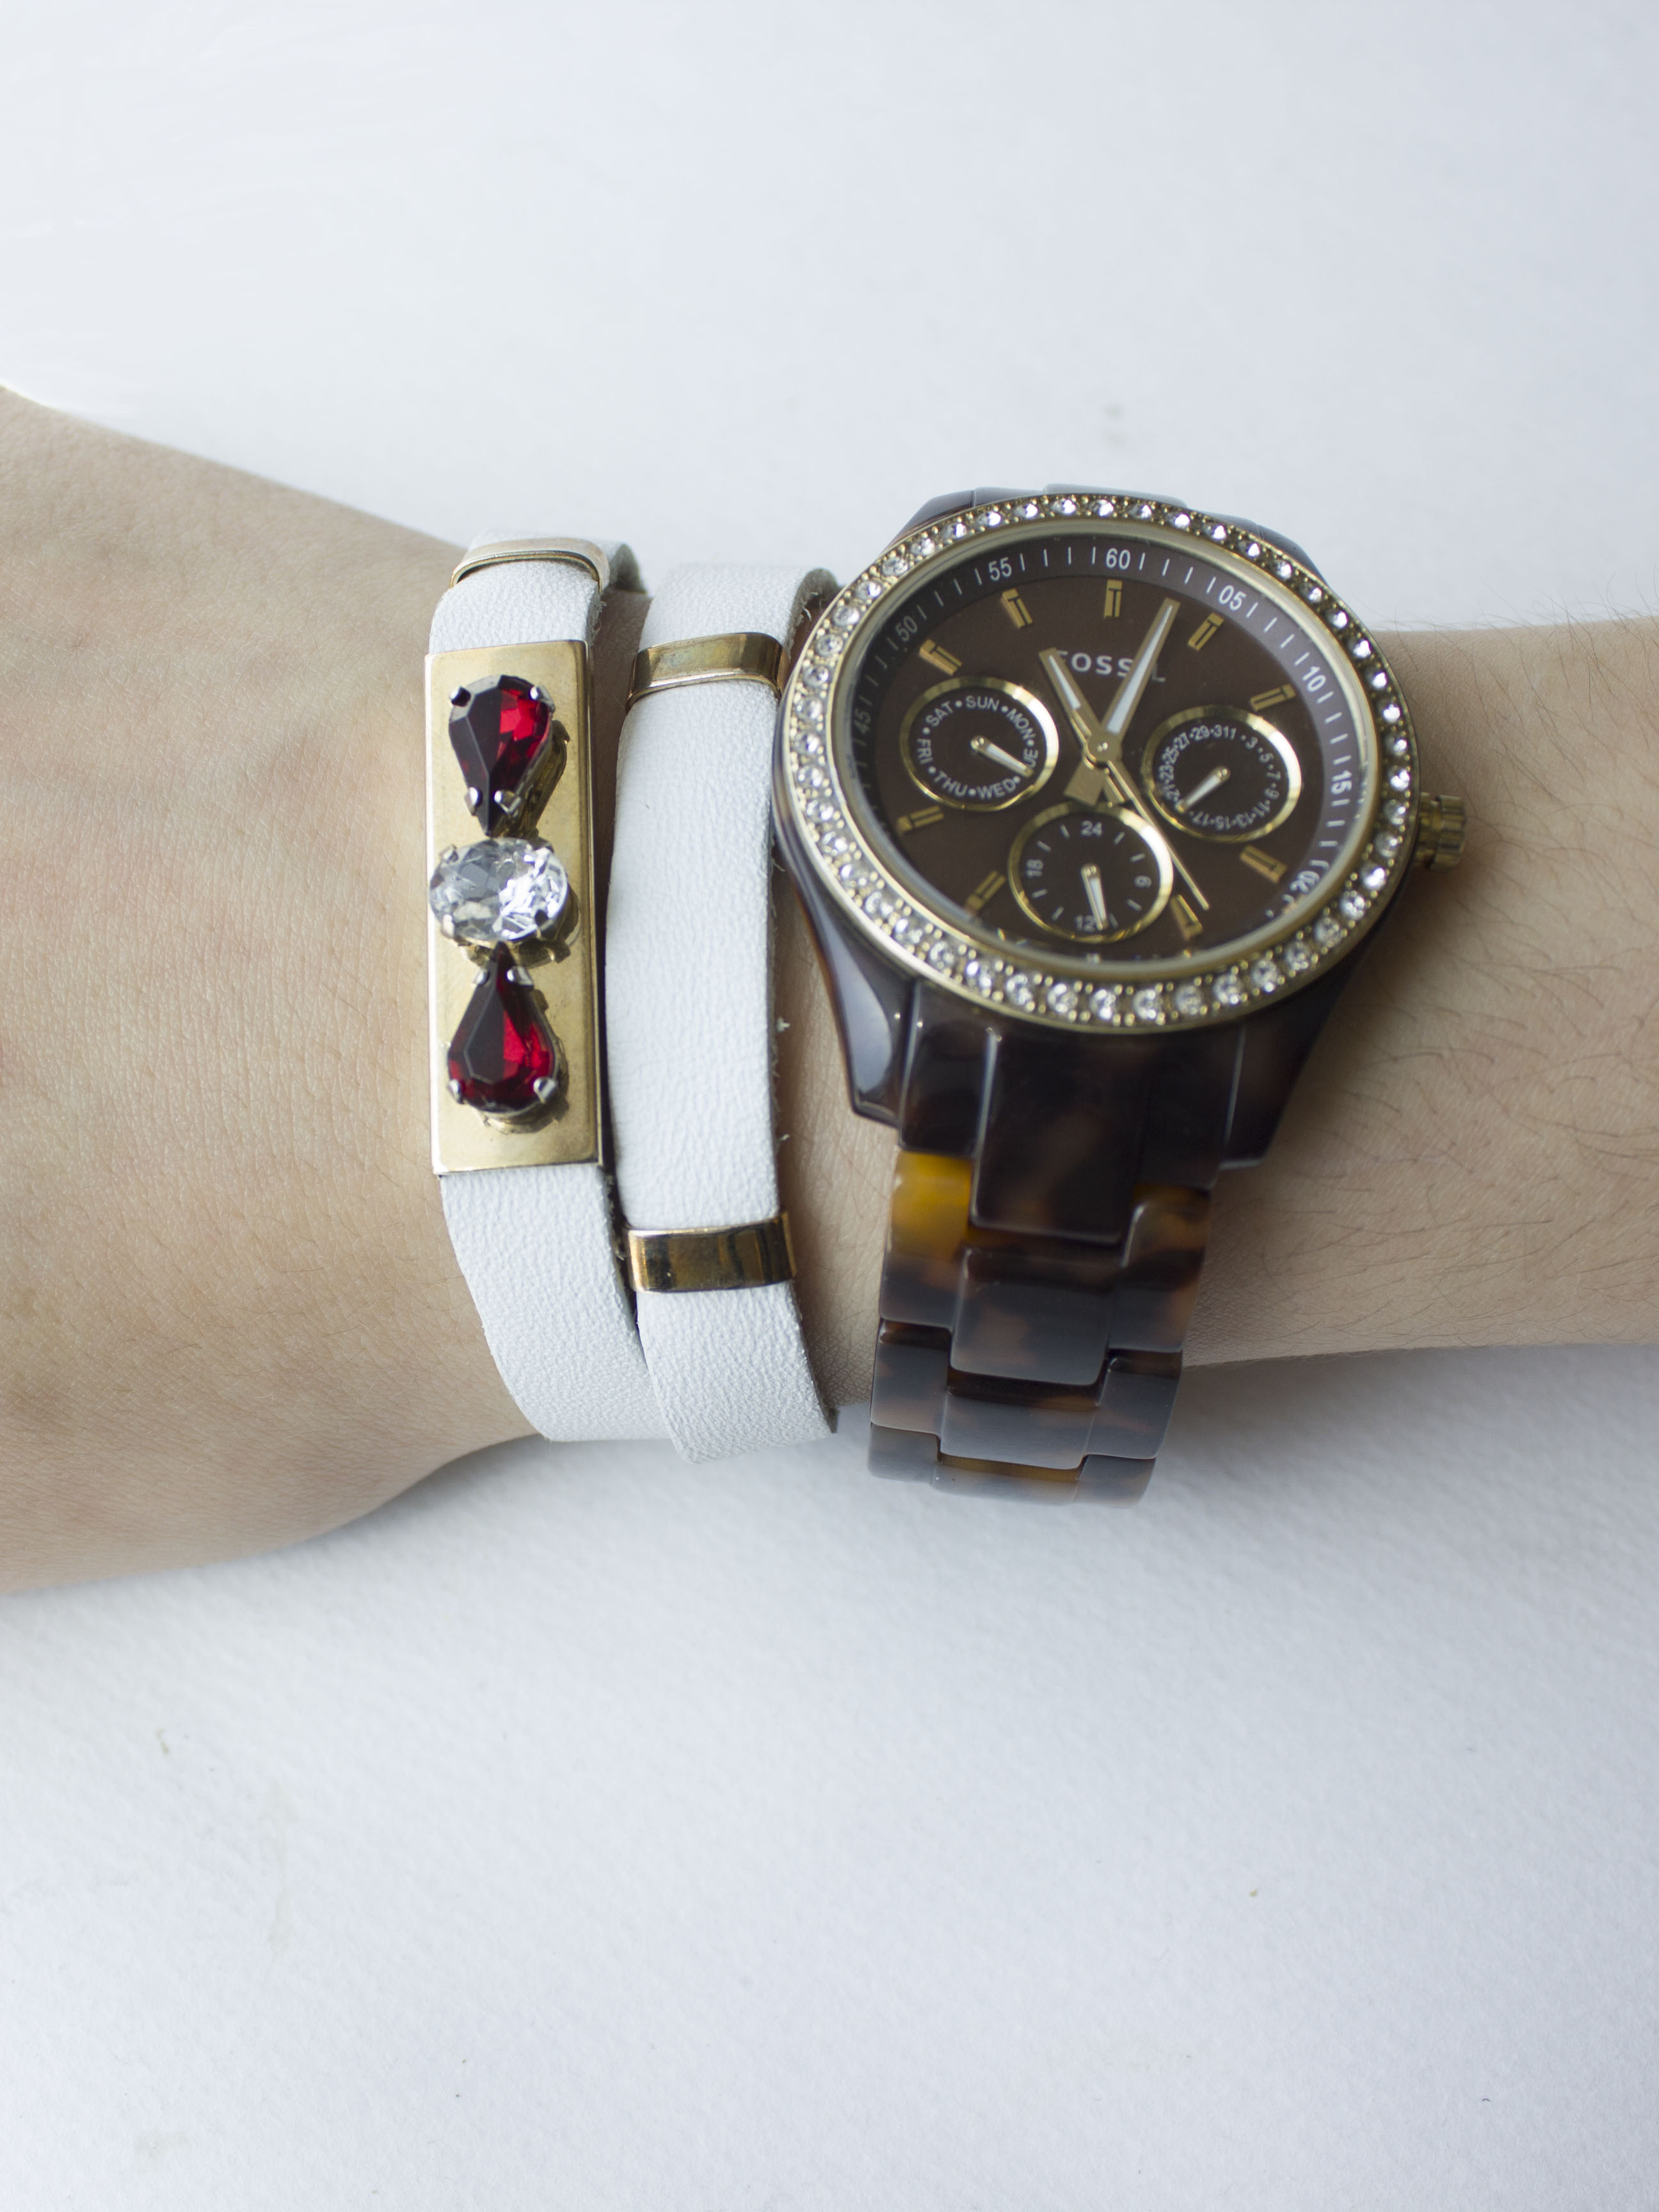
Anyway, I was rummaging though all my craft supplies and I found extra leather for this bracelet. Not wanting to waste any of my supplies, I decided to make a wrap bracelet with the remaining leather. I have a feeling my DIYs will be focused on using up the supplies I have.

DIY|Leather Warp Bracelet

Supplies

  • Leather strip
  • Long rectangular metal bead
  • Metal compression beads
  • Rhinestones
  • Ribbon endings
  • Closure
  • Jump rings
  • E6000
  • Skewer

DIY|Leather Warp Bracelet

  1. Lay out your rhinestone pattern and get ready to glue.
  2. Glue the rhinestones onto the large rectangular bead.
  3. Let dry for a few hours.
  4. Thread your beads onto the leather strip. Put the large rhinstoned bead off center. This will ensure the bead is on the top of your wrist when you put on the bracelet.
  5. Put a dab of glue on the inside of the ribbon ending.
  6. Press the ribbon ending closed around the end of the leather strip. You can use your fingers or a pair of pliers.
  7. Use the jump rings to attach the closure to the ribbon endings.
  8. Finished and read to wear!

DIY|Leather Warp Bracelet

DIY|Cube Necklace

DIY| Cube Necklace

Cubes! I’ve been obsessed with geometric jewelry lately. The second I spotted these awesome metal cube beads, I knew I have to make a necklace with them. It’s starting to get warm out, so a light little golden necklace will do the trick.

DIY| Cube Necklace Supplies

Supplies

  • Cube beads
  • Delicate chain
  • Wire
  • Jump rings
  • Lobster claw
  • Wire cutters

DIY| Cube Necklace Steps


  1. Cut chain to about 15 to 17 inches. At this length the beads should sit just under your collarbone. Cut the chain in half.
  2. Cut a piece of wire long enough to hold all your beads, connect to the chain and a little extra for good measure. Make a loop in the wire and thread the chain onto the wire. To secure the chain, wrap the wire around itself.
  3. Thread on your beads.
  4. Secure the other end of the wire by making a loop, threading the chain on, and wrapping the wire around itself.
  5. Depending on the size of you chain you can either use jump rings to attach your closure or use wire. My chain was very small, so I had to use the wire.
  6. Finished!

DIY| Cube Necklace

DIY| Rhinestone Embellished Bracelet

DIY| Rhinestone Embellished Bracelet


Lately I’ve been stressed out and exhausted! Not DIYing for a week or two left me uninspired. It’s amazing how a short break can cause creativity to crash! I spent a good 30 minutes just staring at all of my rhinestones and chains thinking of something to make.  A few rhinestone patterns later, I had something that inspired me to bedazzle a simple bracelet I have hardly worn. Then the creativeness started flowing and I couldn’t keep up! So, I have quite a few fun DIY’s that  I’m excited about coming up!

DIY| Rhinestone Embellished BraceletSupplies

rhinestone_bracelet_steps

  1. Layout your rhinestone pattern and take a picture of it for reference.
  2. Take the rhinestone from the center of the pattern and put a dab of glue on the back.
  3. Working from the center out gluing the rhinestones to the bracelet.
  4. Once all the rhinestones are glued on, let them dry overnight.

DIY| Rhinestone Embellished Bracelet


DIY|Rhinestone Embellished Bracelet

DIY Inspo| Rhinestone Embellished Cuff

I feel like I haven’t made a single thing in a few week…well that’s actually true :/ The past few weeks have been crazy! Deadlines, work madness, moving, sickness, ugh. This past weekend I finally found some time to make, create, and brainstorm! Here is a little inspiration for tomorrows DIY!

Juicy Couture Brillant Blooms Gemstone Drama Bracelet   SHOPBOP

Philippe Audibert  paola  Art Dec Crystal Bangle   Feathers   Farfetch.com

here/here

DIY| Rhinestone Collar Pins


DIY| Rhinestone Collar Pins

Organizing all my jewelry over the past two weeks has really gotten me in the rhinestone mood. I’ve been feeling a little bored of my necklace collection (which is surprising since I have so many!).  I didn’t want to make yet another necklace this week, so I decided to make a necklace alternative!

DIY| Rhinestone Collar Pins SuppliesSupplies

  • Rhinestones
  • Felt
  • Blank pin back
  • E-6000
  • Scissors

DIY| Rhinestone Collar Pins

  1. Layout the pattern that you would like to make.
  2. Glue the rhinestones to a piece of felt. I started with the two big middle rhinestones.
  3. Keep adding the rhinestones until the pattern is complete.
  4. Repeat the pattern on a second piece of felt. Let everything dry for at least an hour.
  5. Trim the felt. I used scissors at first, then I switched to thread clippers to get a closer cut.
  6. Glue the pin backs to the back of the felt, let dry over night.

DIY| Rhinestone Collar Pins


DIY| Rhinestone Collar Pins


DIY| Magazine Art

DIY| Magazine Art


I’m a bit of a fashion magazine hoarder…It pains me to throw away Vogue, Haper’s Bazaar, and W Magazine. Last week, I changed apartments, yes, not moved, but changed. Same building and same floor. With moving comes the process of cleaning out all of the junk that some how seems to pile up. When I got to my collection of Korean fashion magazines, I started racking my brain for ways to save them. I knew they had to go since they were collecting dust, but if I could just save pieces and pages of the magazines. Well, a quick concoction of mod podge and a few small canvases later, I had myself some great art to add to my DIY gallery wall.

DIY| Magazine Art


Supplies

DIY| Magazine Art


  1. Use the Exacto knife to cut pages out of the magazines. Make sure to cut as close to the spine as you can.
  2. Trim the magazine pages so they fit nicely on the canvas. I trimmed off the logos and words that were at the bottom.
  3. Coat the canvas in a layer of mod podge.
  4. Center a magazine page in the center of the gluey canvas.
  5. Apply a coat of mod podge on top of the magazine page and canvas.
  6. Let dry over night. The glue will be clear when it is completely dry.

DIY|Magazine Art


DIY| Geometric Cocktail Ring

DIY|Geometric Cocktail Ring

DIY| Geometric Cocktail RIng

Short and sweet today! I’m moving, well ‘changing,’ apartments today. Oh, Korea, I just adore being at the whim of others…NOT!

Anyway, I found this beautiful labadordite bead last week and knew I wanted to turn it into a cool cocktail ring!! I love these stones! They have a pretty rainbow of colors in them!

Supplies


Supplies

DIY| Geometric Cocktail Ring


  1. Cover the top of the ring blank with glue.
  2. Press the ring blank on to the labadordite bead and allow to dry over night.

How easy was that!

DIY|Geometric Cocktail Ring

DIY| Delicate Layered Bracelet

DIY| Delicate Layered Bracelet


I have tons of rhinestones! I never quite know what to do with my smaller rhinestones, I tend to gravitate to the large ones. The idea popped into my head to make a nice layered bracelet combining delicate chain and my small rhinestones.

DIY| Delicate Layered Bracelet


Supplies

  • Delicate chain
  • Eye headpins
  • Small rhinestones in setting
  • Jumprings
  • Lobster claw closure
  • Round nose jewelry pliers
  • Jewelry wire cutters

DIY| Delicate Layered Bracelet


  1. Cut a few pieces of chain that fit about 3/4 of the way around your wrist.
  2. Cut the pieces of chain at various points.
  3. Place one rhinestone on a head pin.
  4. Bend the headpin at the top of the rhinestone. Cut the headpin to about 1/4 inch. Use the round nose pliers to make a loop in the head pin. Now there should be a loop on either side of the rhinestone. Repeat with all rhinestones.
  5. Open a loop and thread a chain link through, then close the loop. Repeat with all loops on all rhinestones. You are using the rhinestones with loops to recreate the chain.
  6. Use jumprings to pull together the ends of the chains and attach the closure.

DIY| Delicate Layered Bracelet

DIY| Vintage Bracelet

DIY| Vintage BraceletI really love to take old pieces of jewelry and breathing new life into them by remaking them into something new. Being in Korea, a land of disposable goods and without my supply of vintage jewelry, I’ve really only been able to make piece from what I have found at places like Dongdaemun (post…here is a little about DIYing in Korea). I did bring a few vintage clip-on earrings and shoe clips with me. All of which I think I might have worn once over last 14 months. One of my favorite pairs of vintage clip-on were looking so lonely in my jewelry closet (um..yeah..closet..a story for another time). I got this brilliant idea to turn the earrings into a bracelet!! In my head it was just so simple…after some trial and error and glue-covered fingers, I managed a bracelet. Sorry for only 2 pictures of my steps. E6000 and a DSLR don’t mix!

DIY| Vintage BraceletSupplies

  • wire cutters
  • E6000
  • vintage earrings ( hereherehere)
  • large hoop earrings
  • paper clips, anything that clamps (optional)
  • a cylinder the earrings fit around (not in picture, optional)

DIY| Vintage Bracelet

  1. Use the wire cutters to remove earring posts and clips.
  2. Place the hoop earrings around the candle. Glob (literally) glue onto the back of the vintage earrings.  Position the hoop earrings on the vintage earrings and in the glob of glue. The candle is pushing the hoops into the glue and keeping everything in place. Let dry for at least 2 hours before glueing the other side. let the whole bracelet dry for 24 hours.

I know that is a lot to take in! It’s well worth the glueing pains!

DIY| Vintage Bracelet


DIY| Geometric Necklace

DIY| Geometric Necklace


January is proving to be an exhausting month for me! I have extra intensive English classes to teach and 6 day work weeks. Finding the time to cook, let alone craft has been difficult. So, here is a simple DIY necklace. I saw these great geometric pieces and knew I wanted to make a necklace that was simple and perfect to wear under shirt collars.

DIY| Geometric Necklace


Supplies

  • geometric pieces(hereherehere)
  • chain
  • lobster claw
  • 2 large jumprings
  • 3 small jumprings
  • jewelry pliers

DIY| Geometric Necklace


  1. Cut chain into two pieces. Length depends on how long you want the necklace to be.
  2. Use a jumpring to connect the geometric pieces.
  3. Connect the chain with a jumpring.
  4. Use the larger jumpring to connect the lobster claw to the chain, and put the second jumpring on the end of the other chain.

DIY| Geometric Necklace